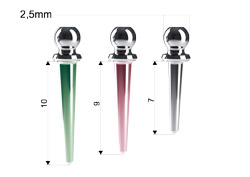
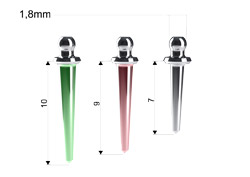
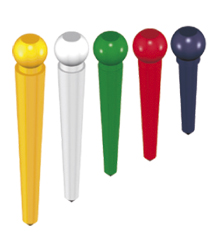
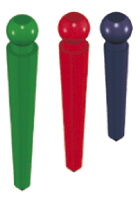
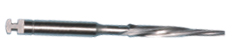
Pivot Block

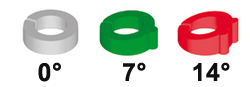
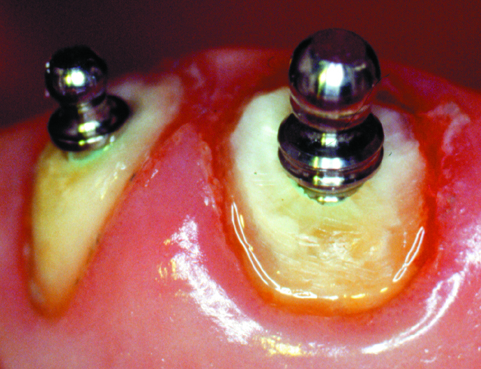
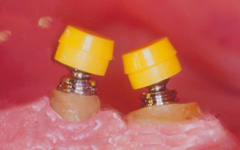
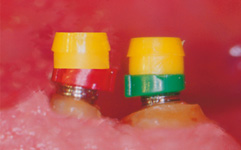
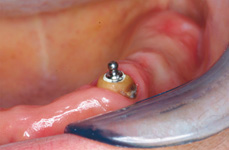
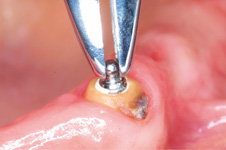
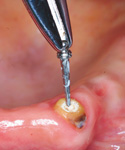
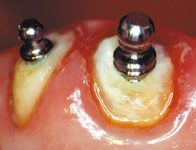
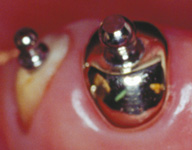
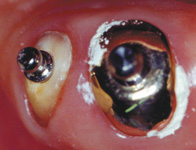
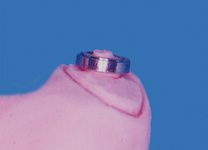
Available in 2.5 mm and 1.6 mm diameters, the Pivot Block post has a fixed ball and can be used for transition solutions or as a permanent attachment. The OT CAP line completes the attachments, working over the titanium balls to ensure optimal retention and to minimize wear. There are five levels of retentive caps available in different colors.

PRODCUT INFO

DENTAL CLINIC

LABORATORY

PRODUCT SPECIFICATIONS

VIDEO

PRODCUT INFO

TITANIUM PIVOTS KIT NORMAL SIZE
ADAPTED FOR COPING COVER

Ref. 036PTN

Kit contains:
• 5 TITANIUM PIVOTS (adapted for coping cover)


TITANIUM PIVOTS KIT MICRO SIZE
ADAPTED FOR COPING COVER

Ref. 036PTM

Kit contains:
• 5 TITANIUM PIVOTS (adapted for coping cover)


Ref. 010PSP

• CASTABLE PIVOTS FOR CANAL IMPRESSIONS


Ref. 012PSM

• CASTABLE PIVOTS FOR CANAL IMPRESSIONS


ACCESSORI


Ref. A01MOG

MOOSER BUR (for pivots of 7 - 9 - 10mm)


Ref. A03MOB

MOOSER BUR (for pivots of 12 - 14mm)

DENTAL CLINIC

To be used on Titanium posts a Flex and Block for aligning and attaching the retention caps in parallel (as much as possible) on a mobile prosthesis, while in the mouth of the patient.

Pivot Block

100 1

TITANIUM POSTS

(with fixed sphere for temporary and definitive attachments)


Temporary post fixed with oxyphosphate cement.

To remove the post from the root, grab the sphere with the pincers and rotate carefully in both directions.


The post comes out easily due to the conical and smooth shape.

FLEX AND BLOCK TITANIUM POSTS

(coping cover for overcasting)


Impression Adapte the roots until the collar of the post is totally uncovered and clean carefully around it.


Take the impression that will be necessary to reproduce the cast cover.

Check if the coping cover fits on the root, remove and clean all parts.


Fix the coping cover with cement. Once the cement is hard, the spring blocks itself inside and becomes a unique body with the post.

LABORATORY

The lab MUST use a very hard gypsum. It is necessary to have the reproduction of the circular part of the post.

Insert the coping cover in position (without the spring).

Wax-up and cast.

Finish and polish the cast part. Insert the spring and send it to the clinic.

VIDEO